Interactive Segmentation Tool
Menu / icon
This tool is accessible via the ![]() icon in the main upper toolbar or the 'Edit > Segment' menu.
icon in the main upper toolbar or the 'Edit > Segment' menu.
Description
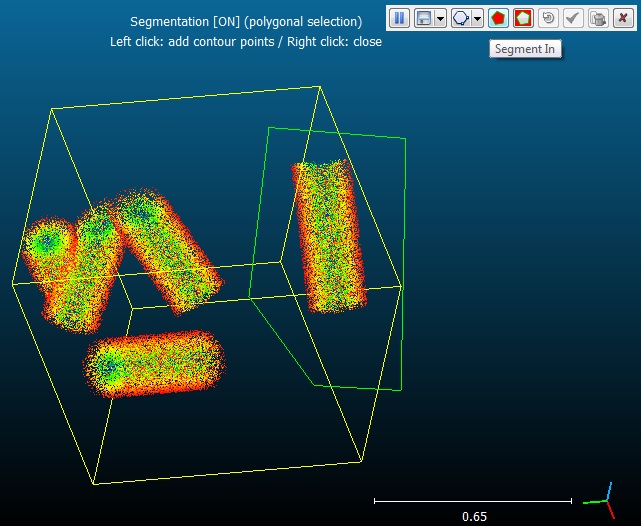
This tool allows the user to interactively segment the selected entities by defining a 2D polygon (or a rectangle) on the screen. This process can be repeated multiple times, changing the orientation of the entities each time, so as to properly segment the entities in 3D. Each time the user can decide to keep the points (or triangles) falling inside or outside the polygon border.
Currently this tool can be used to segment clouds or meshes (see below for more information).
Procedure
Select one or several entities and start the tool. A new tool bar will appear in the top-right corner of the 3D view.
Polygon edition mode
By default the tool starts in 'polygonal' editing mode. This means that you can start drawing the polygon right away:
- left click: create a new polygon vertex
- right after the first vertex is created, you'll see that the first polygon edge will start to "follow" the mouse cursor. You have to define the position of the second vertex (left click) in order to 'fix' it. This process will start over with the next edge and so on.
- right click: stop the polygon edition (warning: the currently 'floating' vertex won't be added to the polygon)
Rectangle edition mode
You can switch the 'Polygon edition' mode to 'Rectangle edition' mode by clicking on the down arrow next to the 'polygon' icon:
In 'Rectangle edition' mode you have to left click to define the first corner of the rectangle then hold the left mouse button, move the mouse and release the button to define the opposite corner.
Segmentation
Once the polygon/rectangle edition is finished, if the user clicks on the left button the edition process will start over (i.e. the current segmentation polygon will be discarded).
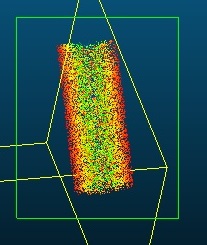
Otherwise the user has to choose whether to keep points inside (![]() ) or outside (
) or outside (![]() ) the polygon. Once done the other points will disappear (as well as the polygon).
) the polygon. Once done the other points will disappear (as well as the polygon).
The tool will fall back in "paused" mode.
Paused mode
In paused mode, the mouse can be used to modify the entities orientation and position in the standard way.
The user has multiple choices:
- modify the current entities orientation and segment more points (click on the
 button to leave the 'paused' mode and define a new polygon/rectangle)
 - reset the current selection (
 )
) - validate the current segmentation and create two clouds: one with the selected points and one with the others (
 )
) - validate the current segmentation and create only one cloud with the visible points (
 ) - the other points will be deleted
 - cancel the segmentation process (
 ) (no modification will occur)
Polygon Import / Export
The user can import or export the current polygon as a (flat) 3D polyline.
Import
A new segmentation polygon can be imported anytime with the Use existing polyline option. It will be added to the root of the DB tree with a default name.
CC will display a simple list of all polylines it founds in the DB tree so that the user can select the one he wants to use.
Warnings: - any previously defined polygon/rectangle will be discarded. - pay attention that the current projection mode (orthogonal / perspective) will change the behavior of the tool
Export
The segmentation polygon can be exported as soon as it has been 'closed' (right-click) and BEFORE segmenting the points (inside or outside).
Note: the exported polyline will have a ' viewport' entity as child. This 'viewport' entity stores the current viewport parameters and allows the user to restore the exact same viewport later (by clicking on the 'Apply' button in its properties). Viewports can also be saved in BIN files. This way it is possible to apply the exact same segmentation process to the same entity or to other entities (first apply the viewport, then start the tool and eventually import the polyline - see above).
About mesh segmentation
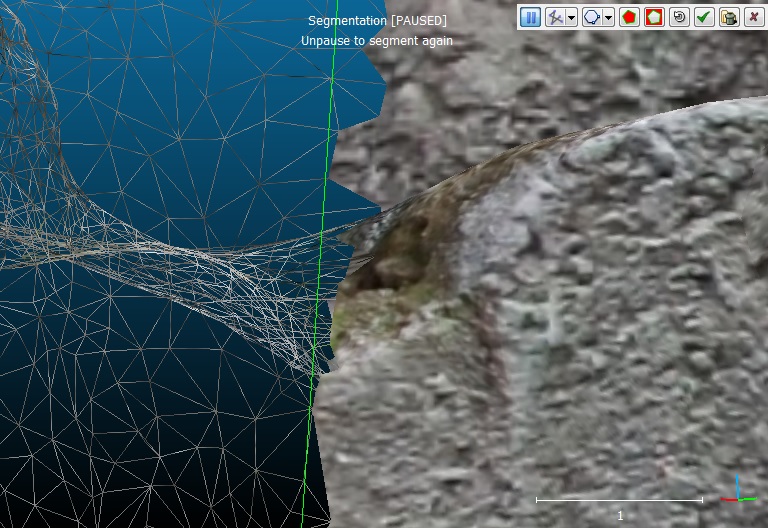
In the case of meshes, this tool doesn't cut the triangles crossing the polygon edges.
Those triangles are always removed (i.e. this tool only keeps the triangle having all their vertices inside or outside the polygon). The result can be acceptable if the mesh has very small triangles. It can be more problematic if big/long triangles cross the segmentation polygon.
Shortcuts
Some keyboard shortcuts are available:
| Shortcut | Description |
|---|---|
| Space bar | Toggle 'pause' mode |
| Escape key | Cancel |
| Return key | Apply |
| Delete key | Apply + delete hidden points |
| Tab | Switch between polygon and rectangle edition mode |
| CTRL key (pressed) | Use a rectangular selection area (whatever the edition mode) |
| I | Select points inside |
| O | Select points outside |


